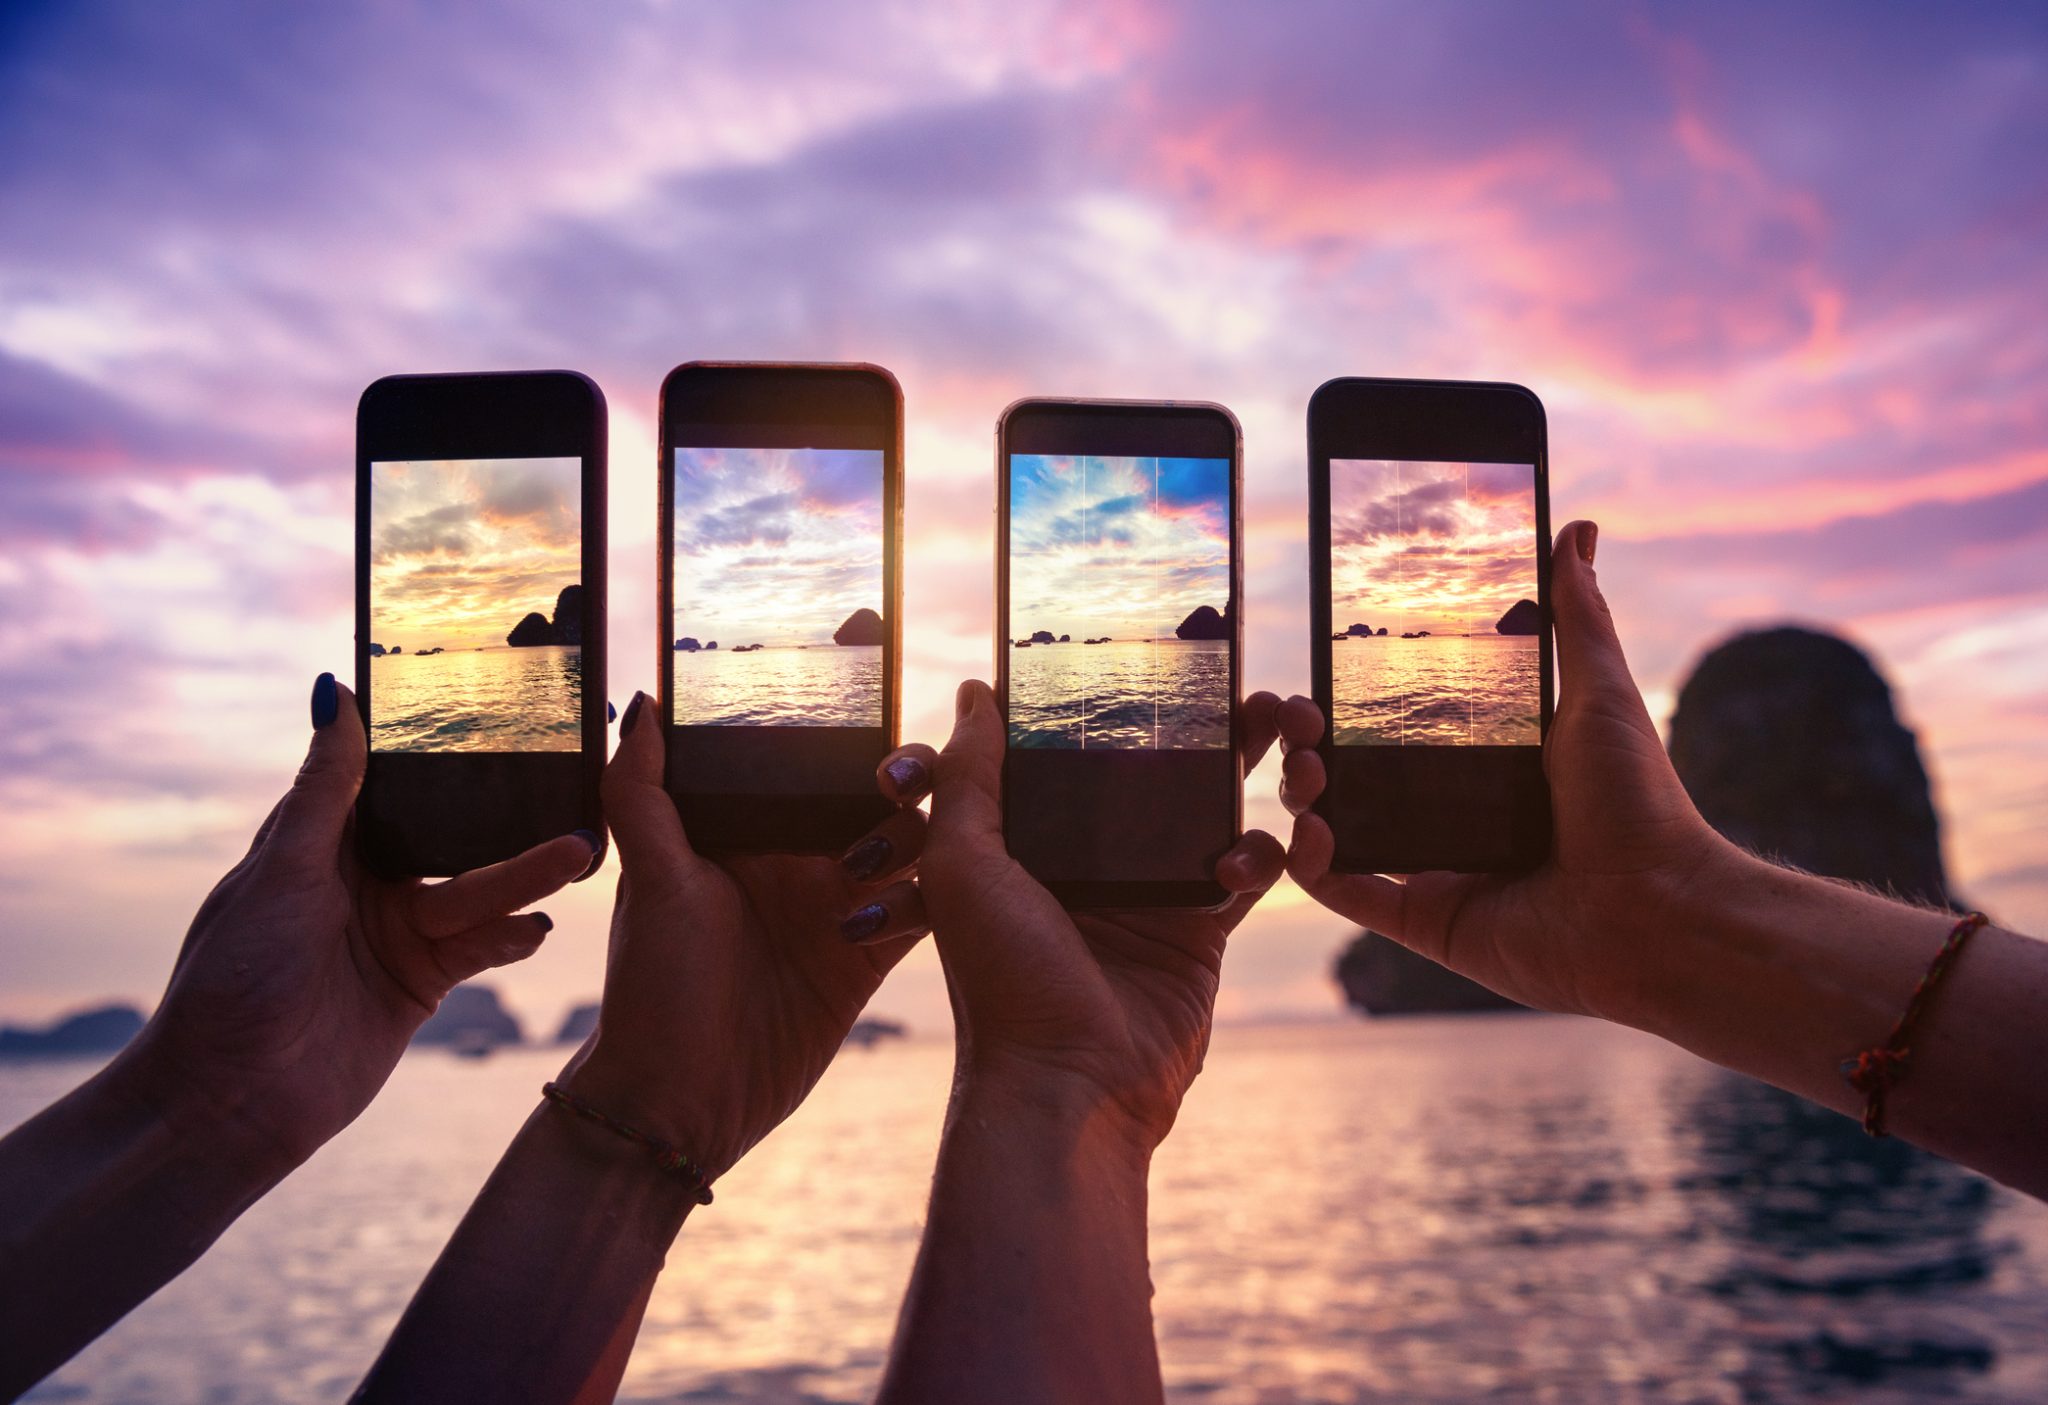
In filmography, the lead room is the empty space on the left side of the frame, in front of a moving object. The lead room creates a sense of movement and draws attention to the object. Some photographers may ignore this rule, instead focusing on the subject in front. Here are some examples. All of these compositions have their own purposes. The use of a lead-room in your photographs can help you tell your story visually.
Headroom
What is headroom within a leadroom? Headroom is the area between your subject's top edge and the frame's top edge. Too much headroom will result in dead space. You should also ensure that your subject is not too close to the edge. This will make them look up or down at the picture. If possible, place your subject about two-thirds from the edge.

A headroom in a lead room is the space between the top of the frame and the top of the subject's head. A good rule of thumb is to leave about two-thirds of the frame empty so that your subject can look out of the picture. You can give your subject more headroom than you need. The right amount of headroom will allow your subject to look comfortable and relaxed in the shot.
Looking for space?
The looking room (also known as the lead space) is the area around an image's edges that allows the viewer and the subject to see each other. The emotional interpretation of the photograph depends on the space between the subject's front and back. A well-composed photo will allow for the subject to move and not be constrained by other elements. If you crop a photograph to reduce the lead space, it will make the subject look cramped.
When photographing a person, always make sure there is adequate looking room. Always leave at least 2/3 of your frame blank when framing portraits. This will give the subject space to look out and preserve the feel of your composition. This is called the "rule of thirds."
Gazing room
Visit a Star Gazing Room to learn about the evolution our universe is a wonderful way to do so. The Payne Family Native American Center on the University of Montana's campus in Missoula is an excellent place to learn about the ancient traditions of stargazing. This unique space hosts the Star Gazing Show. It covers celestial events, planets, and constellations. The evolution of the universe, the legends surrounding stars, and the stars themselves will be explained to visitors.
FAQ
How can I make my photos look beautiful?
Photographing yourself is the best way to make sure you look professional in your photos. You'll learn how to pose for the camera, what angles are flattering, and which ones aren't. You will also learn to use lighting and props as a way to enhance your natural beauty.
Learn how to select clothes that fit you well, what make-up looks good on you and what hairstyles best suit your style.
If you're unhappy with the result, we'll show how to retouch your images in Photoshop and other editing programs.
You can now take self-portraits.
Do I Need A Tripod?
This is one those questions that everyone has to ask. The truth is that a tripod isn't always necessary, but it can come in handy.
A tripod allows you to stabilize your camera when taking photos at slow shutter speeds. A tripod can be very useful if you want to photograph landscapes and stationary subjects.
A tripod can also cause blurriness when you are photographing people or sports. How can you tell which situations call for a tripod and why?
A tripod is useful in situations where you want to take pictures of fast action and stationary subjects. Examples include:
-
Sports
-
People
-
Landscapes
-
Close-ups
-
Macro shots
This test will help you determine if you need a tripod. Look through the viewfinder with your camera steady. A tripod is required if there are blurred lines, movement or other issues.
A tripod will not improve blurring if you don't notice it.
Here are some tips for those who do decide to buy a tripod.
-
Make sure your tripod has smooth legs. This will stop unwanted vibrations shaking your camera.
-
Choose a sturdy tripod. Some tripods made of plastic may not last very long. Instead, choose a metal tripod.
-
You may want to consider buying a remote-control device. Remote control allows you to remotely control your camera. You can set it to fire the shutter once you press the button automatically.
-
A tripod that can rotate 360 degrees is a good choice. It makes it easy to position your camera horizontally or vertically.
-
Remember that tripods can be expensive. Expect to spend between $100 and $200. You'll still get a lot for your money.
-
Don't forget accessories such as memory cards or filters.
-
Before ordering online, you should check in your local shops. Many retailers offer free shipping.
-
Review a product to find out what other customers think.
-
Ask your family members and friends to recommend similar products.
-
You can learn from customers' experiences by visiting message boards and forums.
-
Look online for user reviews.
-
Amazon.com makes it easy to compare prices and see customer feedback.
-
See photo galleries to see some of the creative uses for tripods by photographers.
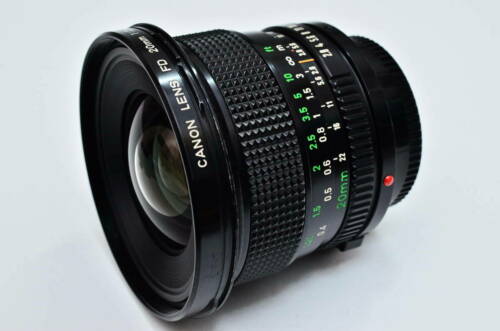
Which Lenses should I Use?
The most frequently asked question by beginners is "What lens should i buy?" There are many options. It can be difficult to make a decision.
The good news is you don't always need to buy a different lens with every purchase of a camera. Instead, you can buy additional lenses later.
For starters, here are three types of lenses you might want to consider.
-
Wide Angle Lens (14mm to 24mm): These lenses allow you to see more of your subject from a wider angle. Zooming in can be done without affecting image quality.
-
Standard/Normal Zoom Lens (28mm-70mm): These lenses let you change the focal length while still maintaining excellent image quality.
-
Telephoto Zoom Lens (70mm - 200mm): These lenses are great for capturing distant subjects. These lenses allow you to focus on your subject, even though they may appear small in the frame.
These lenses can be combined to create different effects. To capture close-up details, you can switch between a normal and telephoto lens.
Which Camera Should I Buy?
All depends on the type of photographer that you want to be. If you're just getting started, a basic point and click camera will suffice.
However, once you've mastered the basics, you'll likely want something more advanced. Personal preference is the only way to decide.
Before you buy a camera, here are some points to remember.
-
Features: What features do I need? Do you plan to use manual settings, autofocus, or both? What number of megapixels does the camera have? Is there a viewfinder?
-
Price: How much are you willing and able to spend on your camera? Are you looking to replace your camera every few years?
-
Brand: Will you be happy with the brand you select? There's no reason why you should settle for less than the best.
-
Functionality: Can your camera function well in low light conditions Do you have the ability to take high-resolution pictures?
-
Image Quality: How clear and sharp are your images?
-
Battery Life: How long will your camera last between charges?
-
Accessories: You will be able attach additional lenses, flashes and other accessories. ?
Statistics
- Get 40% off Adobe Creative Cloud(opens in new tab) (creativebloq.com)
- In this case, 100% of readers who voted found the article helpful, earning it our reader-approved status. (wikihow.com)
- While I cannot prove that all of those spots were not sensor dust, the photo was taken during a heavy snowstorm…so I guess that 99.8% of the spots are snowflakes. (bhphotovideo.com)
- The second easiest way to get blurry photos 100% of the time is to use a cheap filter on the front of your lens. (photographylife.com)
External Links
How To
How to Use Lightroom in Photography
Adobe Lightroom can be used by photographers to easily edit photos. It allows you to import your images into one place where they can be viewed, edited, cropped, lightened, and saved. You can share them online or print them.
Lightroom comes with editing tools that include cropping, adjusting brightness contrast, and colorbalancing. There are also presets available that can be used to create common effects such as vignette or lens distortion correction. The best part is that these changes are applied automatically when you export your image.
Adobe Bridge allows access to Lightroom. This allows you browse your collection and organize your files. You can even add keywords to your images to find them later.
If you're new to Lightroom, start with the free version. This gives you all the basic features. If you decide you want to upgrade, there are two options: buy the full version outright or get a subscription.
Lightroom can downloaded in many ways. Adobe can be purchased directly. You can also download the trial edition and convert it into a purchased license. Here are the steps.
-
Lightroom Trial Version
-
Start the program, and then click "Convert To License" at bottom of the window.
-
Select the type of license that you would like (permanent or one-year) and then enter your payment details.
-
Click "Continue" to complete the process.
-
Once you've converted the trial to a full-paid license, you are allowed to continue using it for the remainder of the term.