This article will discuss the Rule of Thirds for macro photography, patterns in composition, and the importance of negative space to the subject's movement. These tips can help beginners get better at composition. Here are some composition suggestions that you need to remember. These tips will help you improve your photos! These tips can be used to create an artistic portrait.
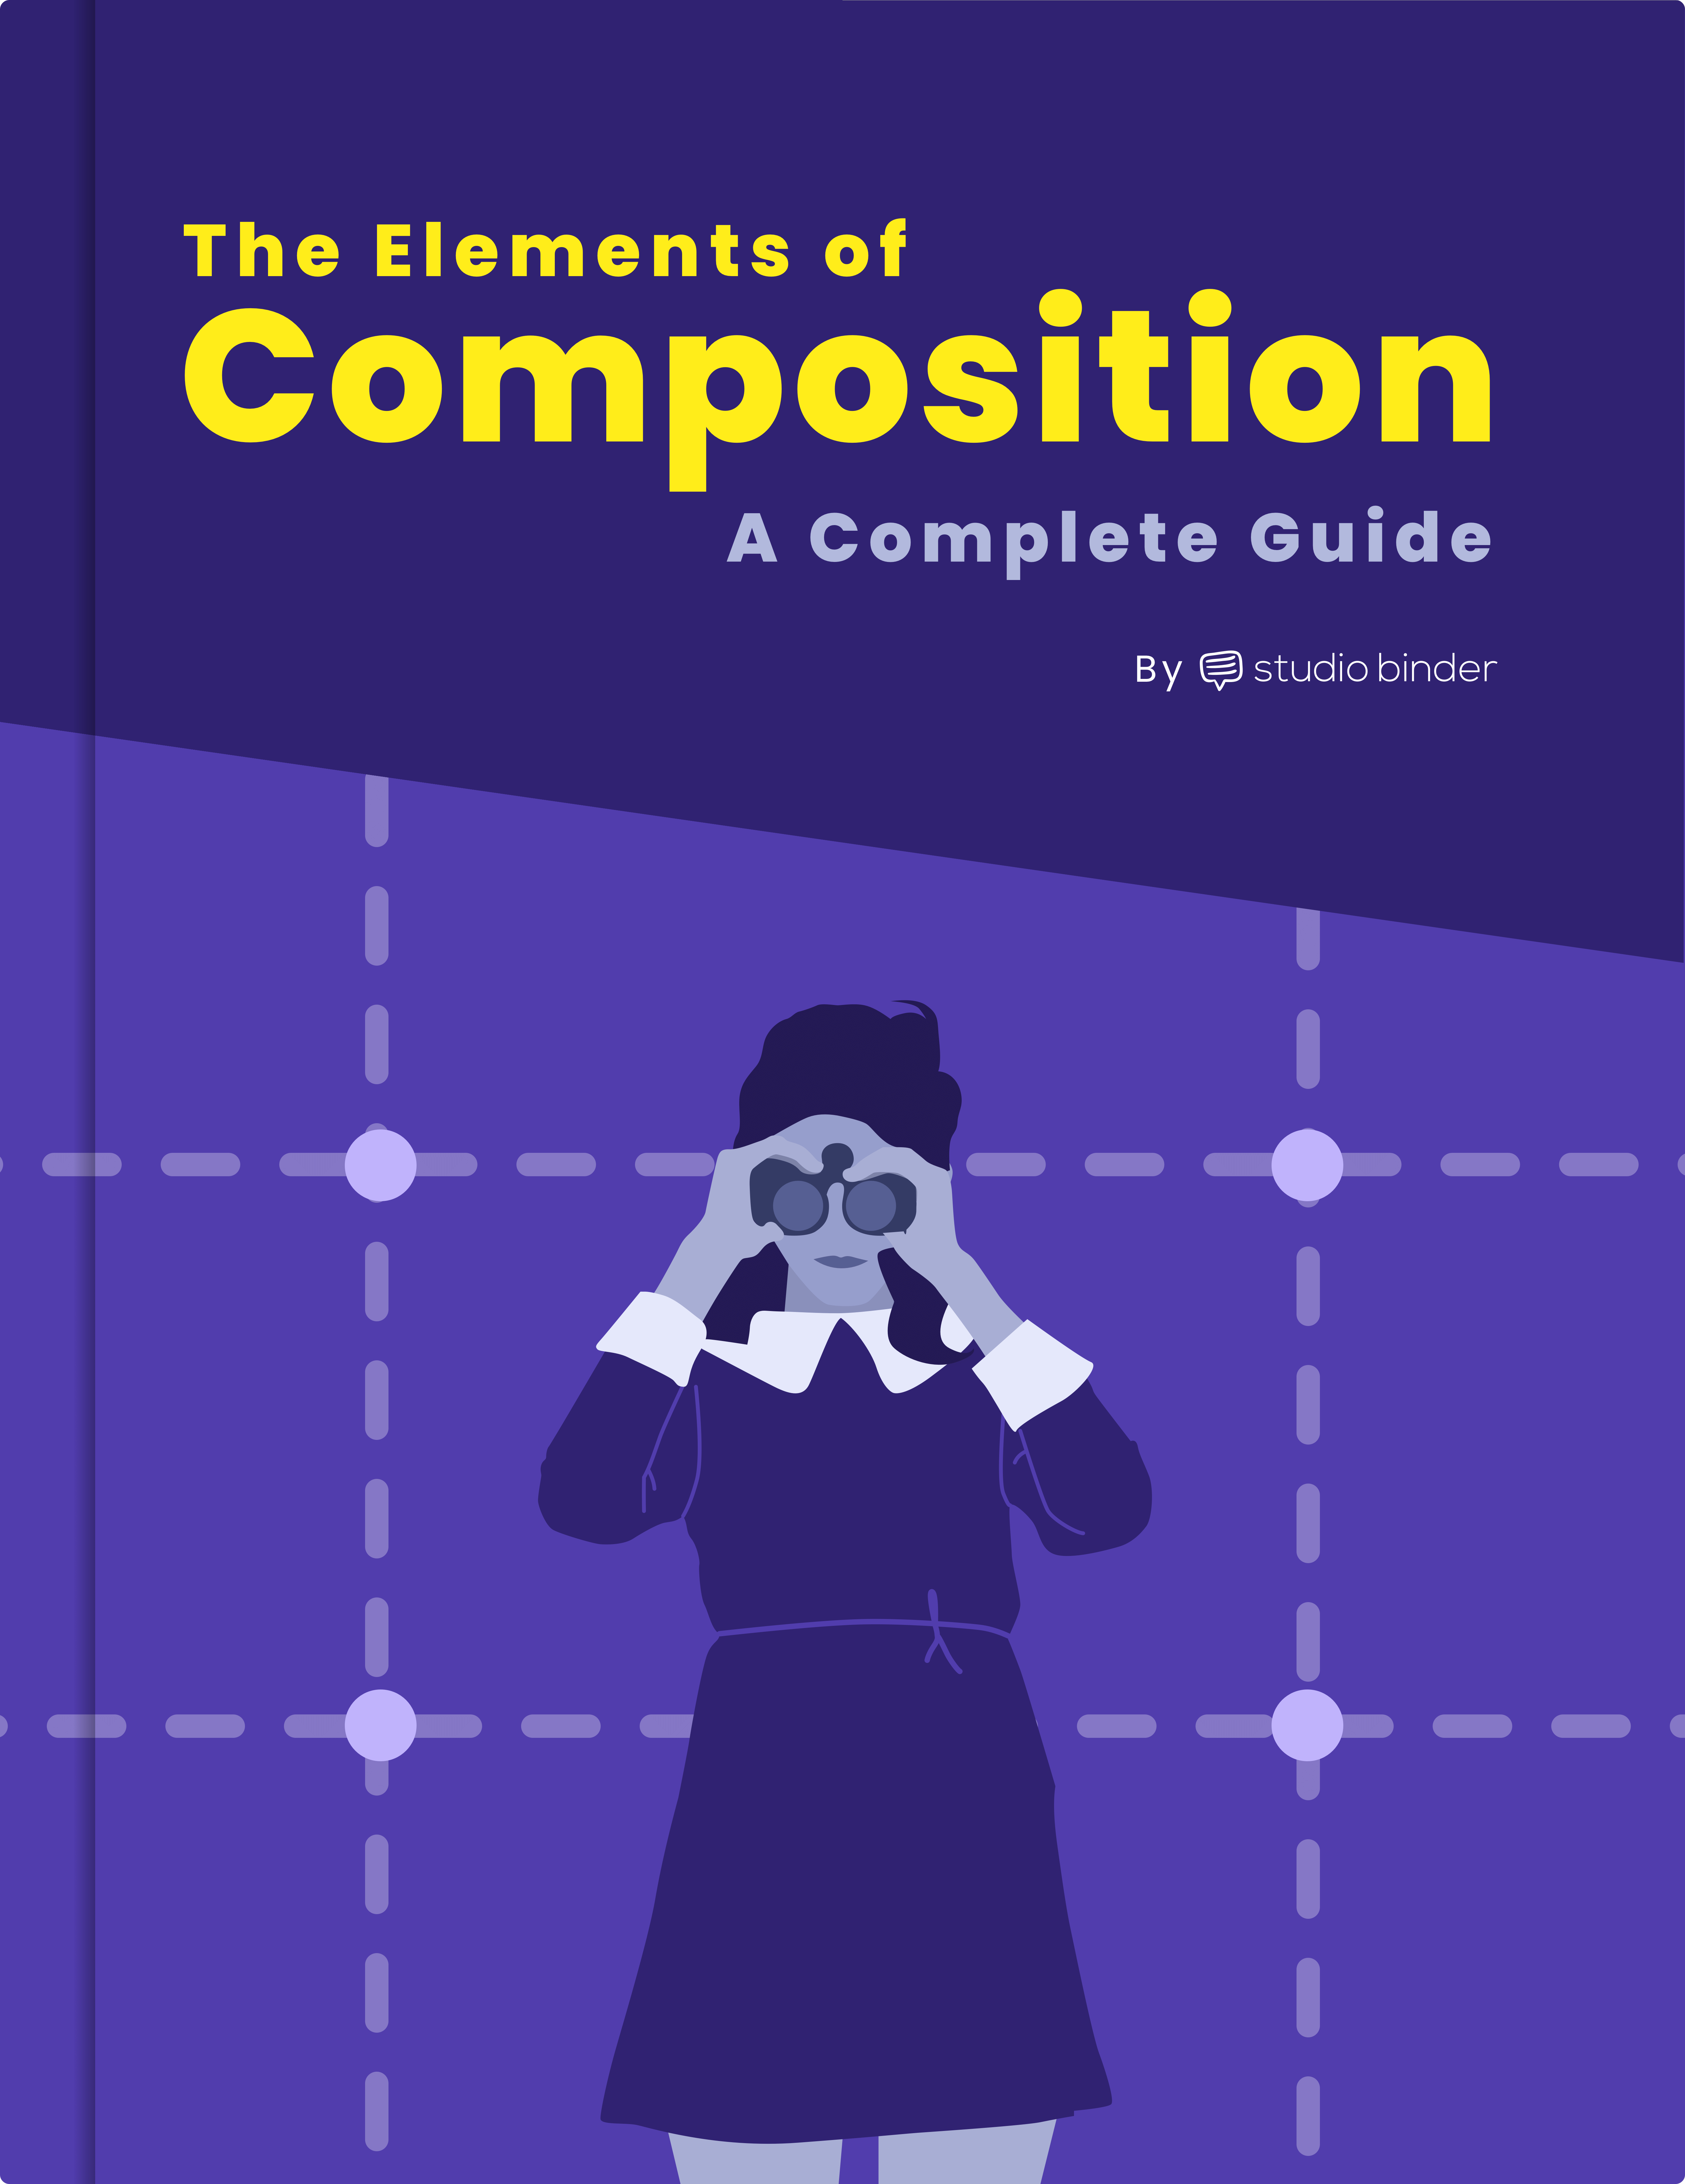
Rule of Thirds
You should adhere to the rules of composition in order to make your image more appealing. Place your main subject out of center on the right-hand vertical grid. This will help the image look balanced. You can have multiple subjects, but you need to place them on opposite sides of the frame. This will prevent the image from becoming too crowded. The background should be the same. It is important to allow plenty of space for background.
Centering the subject in a landscape shot is one of most common mistakes beginners make. It's easy to get distracted by the temptation to center your subject in fast-moving scenes, especially if the subjects are moving away from the camera. You can avoid this issue by using elements in the scene. For all types of background photography, the rules of thirds apply. Here are some tips to help you get started:

Rule of Thirds in Macro Photography
You may have heard of the Rule of Thirds. Did you know it can also apply to macro photography? The most basic rule in photography is that your subject should fill at least three-quarters of the frame. This simple rule can help you take beautiful macro photographs of your subject. However, it isn't the only rule to be followed in macro photography. Experimenting with different compositions is a great way to make your photos stand out.
The rule of thirds is used in macro photography. First, divide your subject into threes. You can then see the best place to place your subject. One example is to position a flower stem along the vertical gridline. Or you could position the flower head at the intersection of two gridlines. This will help make your macro photo look dynamic. Finally, remember to use the Rule of Thirds during post-processing.
Composition patterns
The patterns you see in a photo are everywhere. They are everywhere. Although we may believe the outdoors is where to find patterns best, you can also find them in the interior. The trick is to pay attention and notice the little details you may have missed. These are just a few examples of how patterns can be used in your composition. You can easily create an appealing composition by using patterns.
Using patterns in your composition can make your photographs more interesting and add scale and context. It will create contrast, clarity, depth, and clarity. To enhance the overall composition, you can also use broken pattern. Broken patterns can add a certain level of interest to the composition. They create an expectation that is felt by the viewer. This creates a sense of satisfaction, tension and anticipation. Photography patterns can be extremely helpful for composition. It is worth looking out for them.

Negative space should be left in the direction of subject's movement
There are many ways that negative space can be incorporated into a composition. The best way to include negative space in a composition is to take out everything but your subject. Many TV news scenes and commercials show subjects against a background of white seamless. In these cases, the subject is the focal point. By using the "negative space" in the direction of the motion of the subject, you can draw the viewers' attention to that subject while still retaining a sense of balance.
Negative space that is not in line with your subject's motion can create mystery and drama. The Rule of Thirds can be implemented by this technique, as our eyes naturally gravitate to lines that follow our subject’s gaze. A wall or a neutral background can help you position your subject correctly in your composition. If you're taking a portrait, leaving some empty space in the direction of the subject's motion can be helpful.
FAQ
Do I want to start taking photos as a hobby?
Photography is a great way of capturing memories and sharing them with loved ones. Photography also lets you learn more about the world around.
If you are interested learning how to take better photos, there are plenty online resources that can help.
Consider taking classes at your local community college or art school. You can meet other photographers and get valuable feedback about your work.
Is digital photography hard?
Digital Photography is not as easy as you think. You will need to spend time learning how to use these tools correctly. You need to know what settings to use for different types of shots. The best way to learn is by doing. Practice makes perfect.
How can I be a great photographer?
Photography is an art. It requires dedication, patience, dedication, and, above all, passion. Passionate about photography will make you do better than if it was just for the money.
You should learn how your camera works. You need to be able to comprehend composition, lighting, exposure, depth-of-field, and other aspects of photography. Also, you will need to be able to use Photoshop.
Although photography is difficult, once you are proficient, it is rewarding to create images that capture moments in the moment that will never be forgotten.
To improve your skills, you can read books and attend classes. You can also participate in competitions. This will give you experience and confidence that will help you improve. What equipment do you need?
It really depends on your type of photography. For example, if you are interested in landscape photography, you will need a wide-angle lens.
If you're interested in portrait photography, you should get a telephoto zoom lens.
When taking photos, a tripod is essential. It allows you to stand back and compose your picture without moving around.
Camera bags are great for carrying your accessories, such as memory cards and cameras.
If you're using a compact camcorder, a flash device is essential.
A DSLR (Digital Single Lens Reflex), is the best camera choice for beginners who want professional quality photos.
DSLRs are very popular as they let you control all aspects of your photos, such as shutter speed, aperture and ISO sensitivity. There are many features available, including autofocus, self-exposure lock (auto-exposure lock), bracketing, and RAW format.
Is photography a talent?
Photography is not an artistic talent. It is an art that takes practice, training and experience. It takes years of study and practice to become proficient at any aspect of the craft.
You need to plan how you will make money in photography.
You need to know what type of clients you are looking for and how you can reach them.
You need to know who they are and what they want. It is important to communicate clearly and convincingly with them in order to convince them to use your services.
This means that you will need to be well-organized and prepared when you meet potential clients.
Before you approach potential customers, it is necessary to compile a portfolio. This can be done digitally through software programs or printed on to paper.
Once you have created your portfolio, you need to find opportunities to display it. This could be by approaching businesses directly, or even advertising online.
How can I improve my photography skills on my phone?
You don't need expensive equipment to take great photos! Amazing images can be captured with a smartphone.
You just have to know how to use all its features and learn some basic techniques.
There are many apps that both Android and iOS users can use to edit and share their photos.
If you want to start taking better photos, here are five tips to help you get started.
-
Set Up Your Camera App. Your camera app should come pre-installed on your device. If your camera app isn't installed on your device, download it from Google Play.
-
Use effects and filters. Filters and effects allow you to change the appearance of your photo without having to touch your image.
-
Adjust the exposure. Adjusting the exposure can help you control the brightness in your picture.
-
Photograph in the Right Light Shooting in bright light makes it easier to see details in your subject. Shooting in low light conditions lets you capture the shadows and highlights in your image.
-
Photograph People. It is a great way to share your love with others by taking pictures of them.
Check out this article to learn how to take better pictures with your smartphone: 5 Tips To Improve Photography Skills
What is rule of thirds for photography?
The rule of thirds is an easy way to create interesting compositions without using complicated camera settings. It divides the image horizontally or vertically into nine equal pieces. This creates three main areas for your subject to appear. These are the top third (the upper left corner), middle third (center), and bottom third (lower right). These areas can serve as guides to help you position your subject within your frame.
The rule to thirds allows you to avoid placing important elements too closely together or too far apart. If they are too close to each other, it may be difficult for them to make a strong visual impression. You might find that they lose focus if you place them too close together.
Do I Need A Tripod?
This is one question that everyone wants to know. Although a tripod might not always be needed, they can be useful.
This allows you to keep your camera steady even when taking slow shutter speeds. Tripods can be a huge help when you are shooting landscapes or stationary subjects.
However, tripods can blur the images of moving subjects like sports and people. How do you decide which situations are best served by a tripod.
A tripod is useful for any situation where you want to photograph fast action or stationary subjects. Examples include:
-
Sports
-
People
-
Landscapes
-
Close-ups
-
Macro shots
Do this test to see if you are unsure if you require a tripod. Hold your camera still and look through the viewfinder. You will need a tripod if you see blurred lines and movement.
If you don’t see blurring, adding a tripod is unlikely to make any difference.
These are just a few tips to help you decide whether or not to purchase a tripod.
-
Smooth legs are a must for your tripod. This will stop unwanted vibrations shaking your camera.
-
Use a sturdy tripod. Some tripods made of plastic may not last very long. Opt for a sturdy metal tripod.
-
A remote release is a great option. This lets you control your camera remotely. It can automatically fire the shutter when you press the button.
-
A tripod that can rotate 360 degrees is a good choice. This allows you to place your camera horizontally and vertically.
-
Keep in mind that tripods aren't cheap. Expect to spend between $100 and $200. But, you will get a lot for your buck.
-
Accessories such as filters and memory cards should be considered.
-
Check your local stores before buying online. Many retailers offer free shipping.
-
You can read customer reviews to see what people think of a product.
-
Ask family members and friends who own similar products.
-
To learn more about customer experiences, you can visit forums and message board.
-
Find user reviews online.
-
Use websites like Amazon.com to compare prices and read customer feedback.
-
Check out these photo galleries for an example of the work that photographers do with their tripods.
Statistics
- This article received 13 testimonials, and 100% of readers who voted found it helpful, earning it our reader-approved status. (wikihow.com)
- The second easiest way to get blurry photos 100% of the time is to use a cheap filter on the front of your lens. (photographylife.com)
- There are people out there who will pick at flaws they can only see in 100% crops of your photos. (wikihow.com)
- In this case, 100% of readers who voted found the article helpful, earning it our reader-approved status. (wikihow.com)
External Links
How To
Lightroom: How to Use It in Photography
Adobe Lightroom is an excellent tool for photographers who need to quickly edit their photos. It allows you upload your images to one place that can be viewed as well as edited, cropped, liten, and saved. You can also share them online, print them, or email them.
In addition to editing tools like cropping, adjusting brightness, contrast, and color balance, Lightroom includes a library of presets that make it easy to apply common effects such as vignette, lens distortion correction, and black & white conversion. These changes can be applied automatically when you export your image.
Adobe Bridge lets you access Lightroom. It allows you to organize your files and view thumbnails, while browsing your collection. You can even add keywords and phrases to your images so that you can find them later.
If you're new to Lightroom, start with the free version. This version includes all the essential features. You have two options if you wish to upgrade: either buy the full version or subscribe.
There are several ways to download Lightroom. One option is to purchase the software directly from Adobe. Another option is to download the trial and convert it to a full-featured license. Here's how you can do it.
-
Lightroom Trial Version
-
Start the program. At the bottom, click "Convert license"
-
Enter your payment information and select the type license you wish (permanent, one year)
-
To finish the process, click on "Continue".
-
After you've converted your trial copy to a licensed version, you can continue to use it until the end.