The military has a long history in taking action photos and is a great place to shoot. Photographers have many options, no matter if they want to document a war in Afghanistan or document everyday life in another nation. These resources will help you learn more about your branch's opportunities. These resources will allow you to find out more about the career of a military photographer. Additionally, these resources can provide great advice for military photographers who served.
Dickey Chapelle
Dickey Chapelle served as a war correspondent almost 20 years. He was also a World War II veteran photographer. Dickey was the first female reporter in newsrooms at that time. She was a petite woman, with black-rimmed sunglasses and pearl earrings. Her daring and unrestrained spirit made her stand out. Dickey, despite her modesty took the Army’s physical fitness test in an editor's office.
Chapelle was a staunch anticomunist. Chapelle was a staunch anti-Communist while in Vietnam. He extolled American military advisors as well as the anticommunist militia, known collectively as the Sea Swallows. His death in Vietnam happened at a moment when the United States was going to war on North Vietnam, a communist-led country.
Ernest Brooks
Ernest Brooks is a British military photographer whose photos are used by the British military. He was born in 1878 and grew up in Windsor, Berkshire. He began developing film at the age of 18 and sold his first photographs to newspapers. Soon, he quit work and began to pursue his passion of photography full-time. Before being hired by the Royal Family, he worked at various newspapers.
Brooks made his name by photographing the First World War. He became the longest-serving British war photographer and his photographs were used in national archives. They are displayed in the National Portrait Gallery, National Library of Scotland and the Imperial War Museum, London. For his coverage during the Italian Campaign, Brooks was awarded the French Croix de Guerre. Brooks returned to Londontown after the war and photographed the royal family as well as other notables.
John McCosh
The National Army Museum is home to a collection featuring photographs taken by John McCosh while serving as a military photojournalist. This collection includes more than 300 photographs, including those taken in India or Burma. The album contains the photos and dates back to 1859. It is difficult to determine whether they were all taken by McCosh, and some are duplicates. It is possible that this was an accident, or an attempt to collect and exhibit his collection.
McCosh was a doctor in Edinburgh, and he joined the Indian Medical Service. He was the only survivor after a shipwreck on 1833. McCosh began to take up photography in 1844. His best known photographs are small calotypes, which he used to document events during the Second Sikh War. Later, he returned to photography to document the Second Burmese War.

Nick Ut
Nick Ut was a Vietnam veteran photographer. He started his career there. He shot thousands of photos in a photojournalistic style, and was the first Vietnamese American to earn the National Medal of Arts. When he was sixteen years old, he began taking photos for the Associated Press. Since then, his work has taken him all over the world, including to Japan, South Korea, and Hanoi. His pictures have been used by the Associated Press and NBC Asia, among other media outlets.
Ut was only sixteen years old when he left for war. He grew up idolizing Huynh Thanh My, another Vietnam-era military photographer who was destined for stardom. He was on assignment for the Associated Press when a Viet Cong invasion ravaged his base.
FAQ
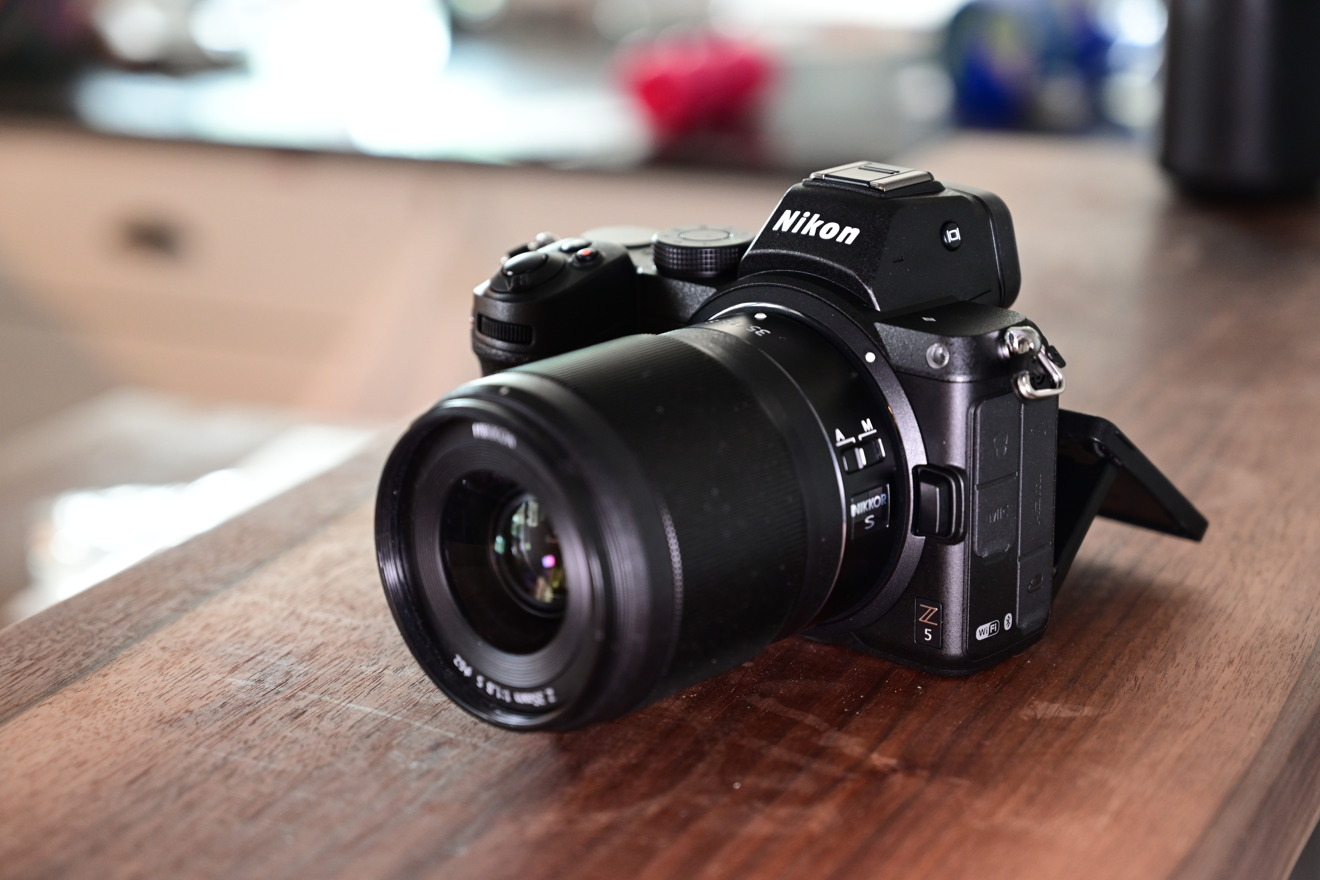
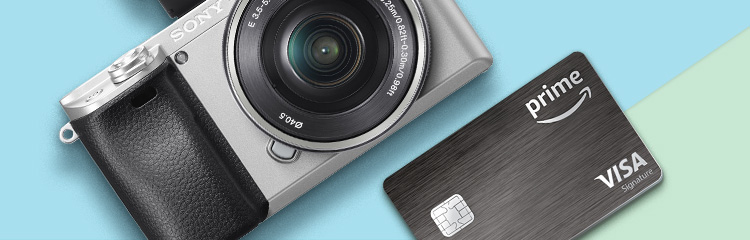
Cameras available for purchase
There are lots of places online where you can buy cameras. B&H Photo Video is a reliable retailer. They are able to assist you with any questions.
B&H ships fast and securely so it is easy to have your order delivered at your doorstep.
If you want to learn more about shopping for cameras, check out this video.
What makes a camera bag good?
Choosing a camera bag is important because it protects your gear while traveling. Here are some factors to keep in mind when choosing a bag.
-
The bag should be large enough to comfortably hold your accessories and cameras. Don't go bigger than you think you will need.
-
Durability: Bags made of durable materials such leather, canvas and nylon are best. Avoid using plastic bags or fabric bags.
-
Protection: Make certain your bag is protected against dirt, dust, moisture, and scratches
-
Organization: You can organize your gear by category to make it easier for you to find the right thing. For example, put your lenses in one compartment, your memory cards in another, and your battery charger in yet another.
-
Comfort: Instead of carrying a bag, use a shoulder strap. Comfortable designs with padded shoulders are also recommended.
-
Price: Check around to find the best prices. Brands may offer discounts on their products, which can prove to be a plus.
-
Warranty: Find out if your company offers a guarantee on its products. If your bag is damaged or lost, this will let you know who to contact.
What camera is the best for beginners, and why?
The best camera for beginners depends on your budget, needs, and skill level.
If you are looking to save money, then a point and shoot digital camera might be the best option. These cameras offer good quality but aren't very versatile.
Digital Single Lens Reflex cameras come with interchangeable lenses which allow you to capture different types of images. These lenses are usually more expensive than point-and shoots, but offer greater flexibility.
A beginner's kit is the best place to begin if you are new to photography. Everything you will need, including a tripod, flash, memory cards and lens, can be found in one package.
Make sure to purchase extra batteries.
Is photography an artistic talent?
Photography is an art form, not a talent. It requires training, experience, and practice. To master any aspect of photography, it takes years of practice and study.
Photography is a business. You must have a plan to make money.
This requires you to identify the type of client you are trying to attract and to find out how to reach them.
You must know their identity and what they want. It is important to communicate clearly and convincingly with them in order to convince them to use your services.
This means you must be prepared to meet potential clients.
To be ready to meet potential customers, you'll need to build a portfolio. You can either create a portfolio digitally with software programs, or print it on paper.
Once you have created your portfolio, you need to find opportunities to display it. This could be by approaching businesses directly, or even advertising online.
Light Room is an excellent tool to enhance your images.
To ensure that you get the best photos for your project, it is best to start early. It's better to take as much as possible, then select the best.
This is possible because Lightroom lets you see how different settings affect each image. These settings can be changed on the fly, without needing to return to Photoshop. This lets you quickly experiment with what looks great and what doesn't.
Do I Need A Tripod?
This is one of those common questions. Although a tripod might not always be needed, they can be useful.
A tripod allows you to stabilize your camera when taking photos at slow shutter speeds. Tripods can be a huge help when you are shooting landscapes or stationary subjects.
However, tripods can blur the images of moving subjects like sports and people. What are the best ways to determine which situations you need a tripod for?
A tripod is an essential tool for photographing fast-moving subjects or stationary objects. Examples include:
-
Sports
-
People
-
Landscapes
-
Close-ups
-
Macro shots
If you're unsure whether you need a tripod, try this test. Keep your camera still, and then look through the viewfinder. A tripod is necessary if you notice blurred lines or movement.
If you don’t see blurring, adding a tripod is unlikely to make any difference.
However, if you do decide to invest in a tripod, here are some tips to keep in mind.
-
Make sure your tripod has smooth legs. This will prevent unwanted vibrations from shaking your lens.
-
A tripod is a good choice. Some tripods can be made out of plastic but they are not very durable. Consider a tripod made of metal.
-
A remote release is a great option. This allows you to control your camera remotely. Once you press the button, it will automatically fire the shutter.
-
A tripod that can rotate 360 degrees is a good choice. This makes it much easier to position your cameras horizontally or vertically.
-
Be aware that tripods are not cheap. Expect to pay $100-200. You will still get a lot out of your money.
-
Don't forget about accessories like filters and memory cards.
-
Before you buy online, make sure to check your local shops. Many retailers offer free shipping.
-
To find out what customers think about a product, read reviews.
-
Ask friends and family members who own similar products.
-
Visit forums and message boards to learn about customer experiences.
-
Search online for user reviews.
-
Use websites like Amazon.com to compare prices and read customer feedback.
-
Browse photo galleries to get an idea of what photographers do with their tripods.
Statistics
- That's the easiest way to get blurry photos 100% of the time. (photographylife.com)
- There are people out there who will pick at flaws they can only see in 100% crops of your photos. (wikihow.com)
- By March 2014, about 3 million were purchased monthly, about 30 percent of the peak sales total. (en.wikipedia.org)
- This article received 13 testimonials, and 100% of readers who voted found it helpful, earning it our reader-approved status. (wikihow.com)
External Links
How To
How to take photos in low light conditions
Low-light photography refers to taking photos in dimly lit or dark environments. This requires special equipment and techniques. The main challenges are controlling exposure, white-balance, and sharpness. There are two types low-light photography: ambient and flash. Flash photography works well when there is sufficient light around you. However, if there's not enough natural light around you, you'll need to use flash. If your subject is outdoors but indoors, you might not have enough light to take a great picture without a flash. A flash is not necessary if you aren't interested in shooting at night with the moonlit hours. You will get beautiful shadows and colors. Another option to consider is shooting during twilight. Twilight is when the sun sets but there's still daylight.
Long exposures may be something you want to explore. Long exposures enable you to take images even after your shutter has been open for several seconds. The camera records only light that falls on it if the shutter is not closed. This light continues to fall onto a photo sensor throughout a prolonged exposure. The shutter is still closed so no light can enter the lens. This means that you will not see any movement. Turn off autofocus and autoexposure to ensure you get clear images. You should also adjust the ISO setting prior to you start taking photos. An ISO setting of 200 will give you more control over the brightness or darkness of your image. Next, click quickly on the shutter button to capture the shot. This causes the shutter to close completely. Next, hold the shutter button down until the end. You can prevent any additional light entering your camera by holding the shutter button down. Wait a few seconds after you have taken the photo before you release the shutter button. This allows the camera to process the image. While the image is processing, you can see your photos on your computer monitor. Once you're satisfied with them, save them to your computer.